

 Brickadia
How to Host a Brickadia Dedicated Server (2026 Guide)
Host a Brickadia dedicated server: create a hosting token, install SteamCMD app 3017590, open UDP 7777 and load your world so builds survive restarts.
Updated Oct 7, 2026 · 6 min read
On this page
To host a Brickadia dedicated server, create a server hosting token on your Brickadia account page, download the server with SteamCMD (app 3017590), and start BrickadiaServer-Linux-Shipping with -token= and -port=7777. Open UDP 7777 on your router, then save your world with BR.World.SaveAs and load it at startup so your builds come back after every restart. The token is the step most people miss: without it the server will not start at all.
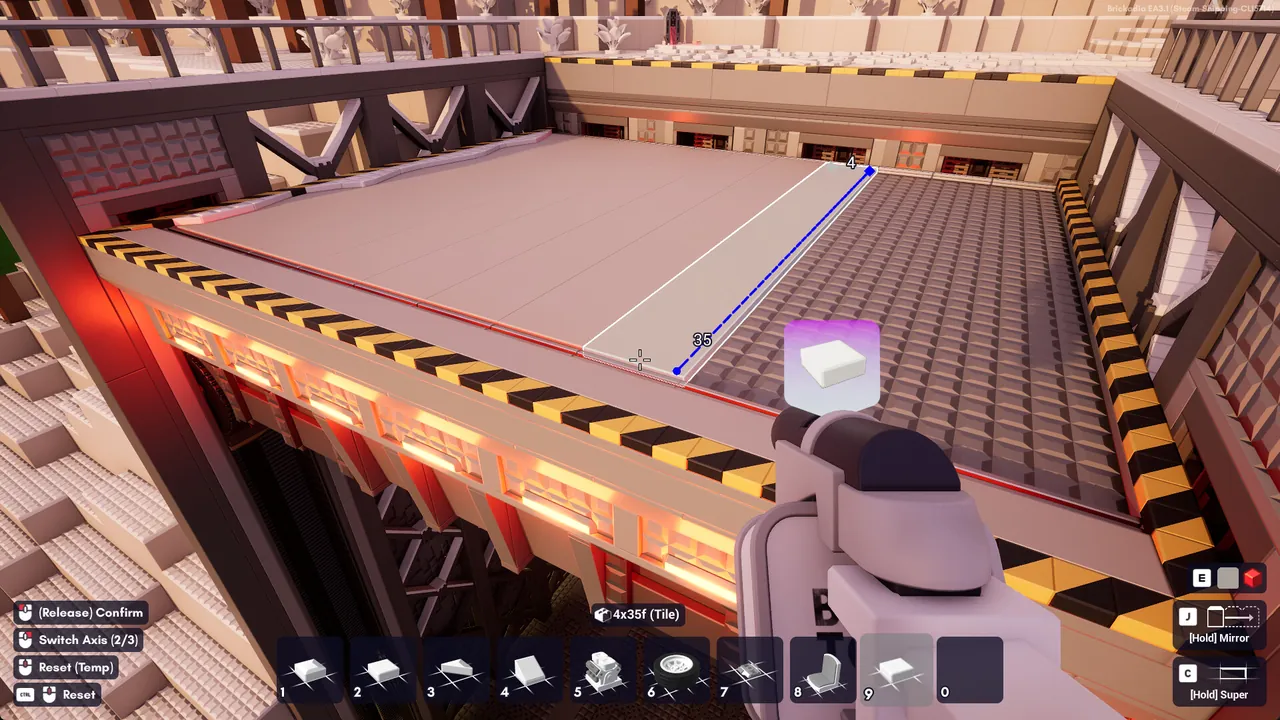
What you need before you start
Brickadia's dedicated server is the same Unreal Engine game without graphics, so it wants a real machine, not a Raspberry Pi.
| Item | What to have |
|---|---|
| CPU | 64 bit x86 with AVX and AVX2. ARM is not supported. |
| RAM | 6 GB for a small group, 8 GB for big detailed worlds, 12 GB for a busy public server |
| Network | UDP 7777 open to the internet, and a public IP (not behind CGNAT) |
| Account | A Brickadia account linked to the Steam account that owns the game |
| Software | SteamCMD, plus lib32gcc-s1 on Debian or Ubuntu |
Memory follows brick count. A world with a few hundred thousand bricks and some wired contraptions sits comfortably in 6 GB, but huge city builds and lots of moving physics push it up fast. Brickadia is in early access, so plan for updates every few weeks.
Step 1: Create a server hosting token
Brickadia checks that whoever runs a server owns the game. That check is the hosting token.
- Sign in at brickadia.com. If you have no account, register and link it to your Steam account.
- Open Account in the top right and scroll to Dedicated Server Hosting.
- Click Create server hosting token and copy the long string it shows.
Treat the token like a password. Anyone holding it can run a server that counts as yours. If it leaks, delete it on the same page and make a new one.
Step 2: Install the server with SteamCMD
On Linux, make a folder and pull the server files:
steamcmd +force_install_dir /home/brickadia/server +login anonymous +app_update 3017590 validate +quit
Anonymous login works, you do not need to sign SteamCMD into your own account. The binary ends up at:
Brickadia/Binaries/Linux/BrickadiaServer-Linux-Shipping
On Windows you can install Brickadia Dedicated Server from the Tools section of your Steam library instead, or use the same SteamCMD command with a Windows path.
Step 3: First start with your token
Start the server from the install folder:
./Brickadia/Binaries/Linux/BrickadiaServer-Linux-Shipping -port=7777 -token=YOUR_TOKEN_HERE -log
When the console prints Posting server. it has registered with Brickadia and should appear in the in game list. On the first run it writes its config and save folders:
| What | Linux path | Windows path |
|---|---|---|
| Config | ~/.config/Epic/Brickadia/Saved/Config/LinuxServer/ |
%LOCALAPPDATA%\Brickadia\Saved\Config\WindowsServer\ |
| Worlds | ~/.config/Epic/Brickadia/Saved/Worlds/ |
%LOCALAPPDATA%\Brickadia\Saved\Worlds\ |
| Roles | ~/.config/Epic/Brickadia/Saved/Server/RoleSetup2.json |
same folder under Saved\Server\ |
Note the dot in .config: it is a hidden folder, so turn on hidden files in your file browser or SFTP client.
Step 4: Open UDP 7777
Players connect over UDP 7777. If the server sits at home, forward that port on your router to the server's local IP and allow it in the firewall:
sudo ufw allow 7777/udp
Our port forwarding guide walks through the router side. If your ISP puts you behind CGNAT, forwarding will not help at all, and hosting without port forwarding explains the options.
To run a second server on the same machine, give it another port with -port=7778 and forward that too.
Step 5: Set the name, password and rules
The quickest way to change server settings is from inside the game. Join your server, press Esc and open the server settings (the edit server screen). There you set the server name, description, password, player limit and whether the server is listed publicly. These are saved into GameUserSettings.ini in the config folder, which you can also edit by hand with the server stopped.
The same menu holds roles and permissions. The account that owns the hosting token is the owner, so join once and set up roles before you invite anyone. For the full command list and role setup, see our guide to Brickadia server admin commands and roles.
Step 6: Save the world and load it on startup
This is where most new hosts lose a weekend of building. A Brickadia server does not automatically reload your world after a restart unless you tell it which one to load. The community wiki's top answer to "where did my bricks go" is exactly this.
- Save from the server console, or from Esc then World then Save World in game:
BR.World.SaveAs townbuild
- Add
-world townbuildto your start line (the name without.brdb), or run this after a restart:
BR.World.Load townbuild
Autosave is on by default and can be tuned in the advanced server settings. Autosaves are a safety net, not a plan: save by name before any big change.
Bringing a world from your own PC
If you built something while hosting from the game, copy the file across:
- On your PC, open
%LOCALAPPDATA%\Brickadia\Saved\Worldsand findYourWorld.brdb. - Stop the server and upload the file to the server's
Saved/Worlds/folder. - Start the server with
-world YourWorldand check the brick count with/BrickCount.
Step 7: Keep it updated
Brickadia updates often during early access, and a client on a newer build cannot join an older server. Rerun the SteamCMD command from step 2 after each game update, then restart. Before updating, copy your .brdb files somewhere safe.
The easier route
Everything above works, but it means a PC left on, a router to configure and a manual update after every patch. A Brickadia server from GamezServers takes the same token: you paste it into the Brickadia Dedicated Server Token field in the panel, set World Name to the world you want loaded, and leave Steam Auto-Updates on so the server checks for a new build every time it starts. You get your own address with no port forwarding, a file manager and SFTP to upload .brdb files, a live console for BR.World.SaveAs, and one click backups before a big rebuild. The bill can be split with up to 10 friends in your build group.

FAQ
Why does my Brickadia server close right after starting?
Almost always the token. The server will not run without a valid hosting token, and a token copied with a missing character or a trailing space fails too. Create a fresh token on your account page and paste it again.
Do I need to own Brickadia to host a server?
Yes. The hosting token is tied to a Brickadia account linked to a Steam account that owns the game. Players who join also need their own copy.
What port does a Brickadia server use?
UDP 7777 by default. You can change it with -port= on the start line, and the port you set is the one players and your router need.
Why are my bricks gone after a restart?
The server started without loading your world. Load it with BR.World.Load worldname and add -world worldname to the start line so it loads every time.
Can I host Brickadia on a Raspberry Pi or ARM VPS?
No. The dedicated server is x86_64 only and needs a CPU with AVX and AVX2.
Skip the setup. Your own Brickadia server.
Then $14.99/mo. Just trying it? $3.75 for 3 days
 Minecraft